Wisp From Animal Crossing

  • 17 May 2020
Post image

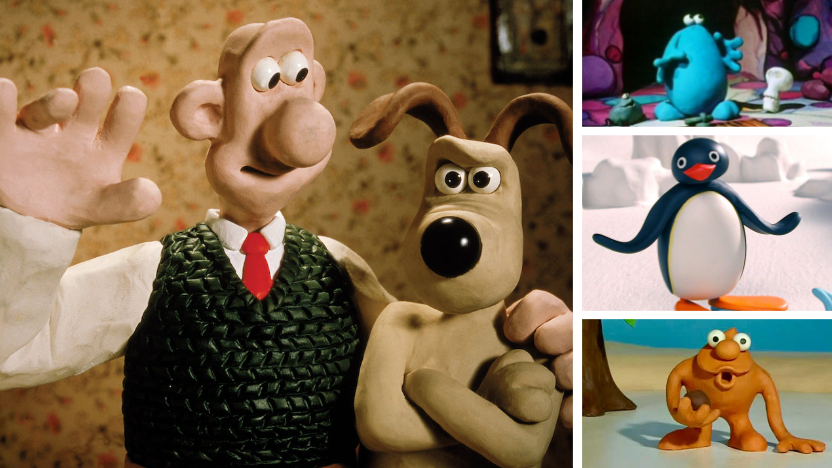
I don’t think anybody has missed that Animal Crossing: New Horizon was released. After playing it for about two months now, I’ve seen some elegant techniques put to use. One of them on the cute form of Wisp.

So I thought that I would try and recreated him since I think I have a pretty good idea of how they made him.

Tools of the trade

I plan to start with Blender to create a mesh of his basic form and then move over Unity to apply some effects and animations with a custom shader. I also need to make some texture for the eyes and mouth for that I will use Affinity Photo.

Building up the shape

Blocking out wisp

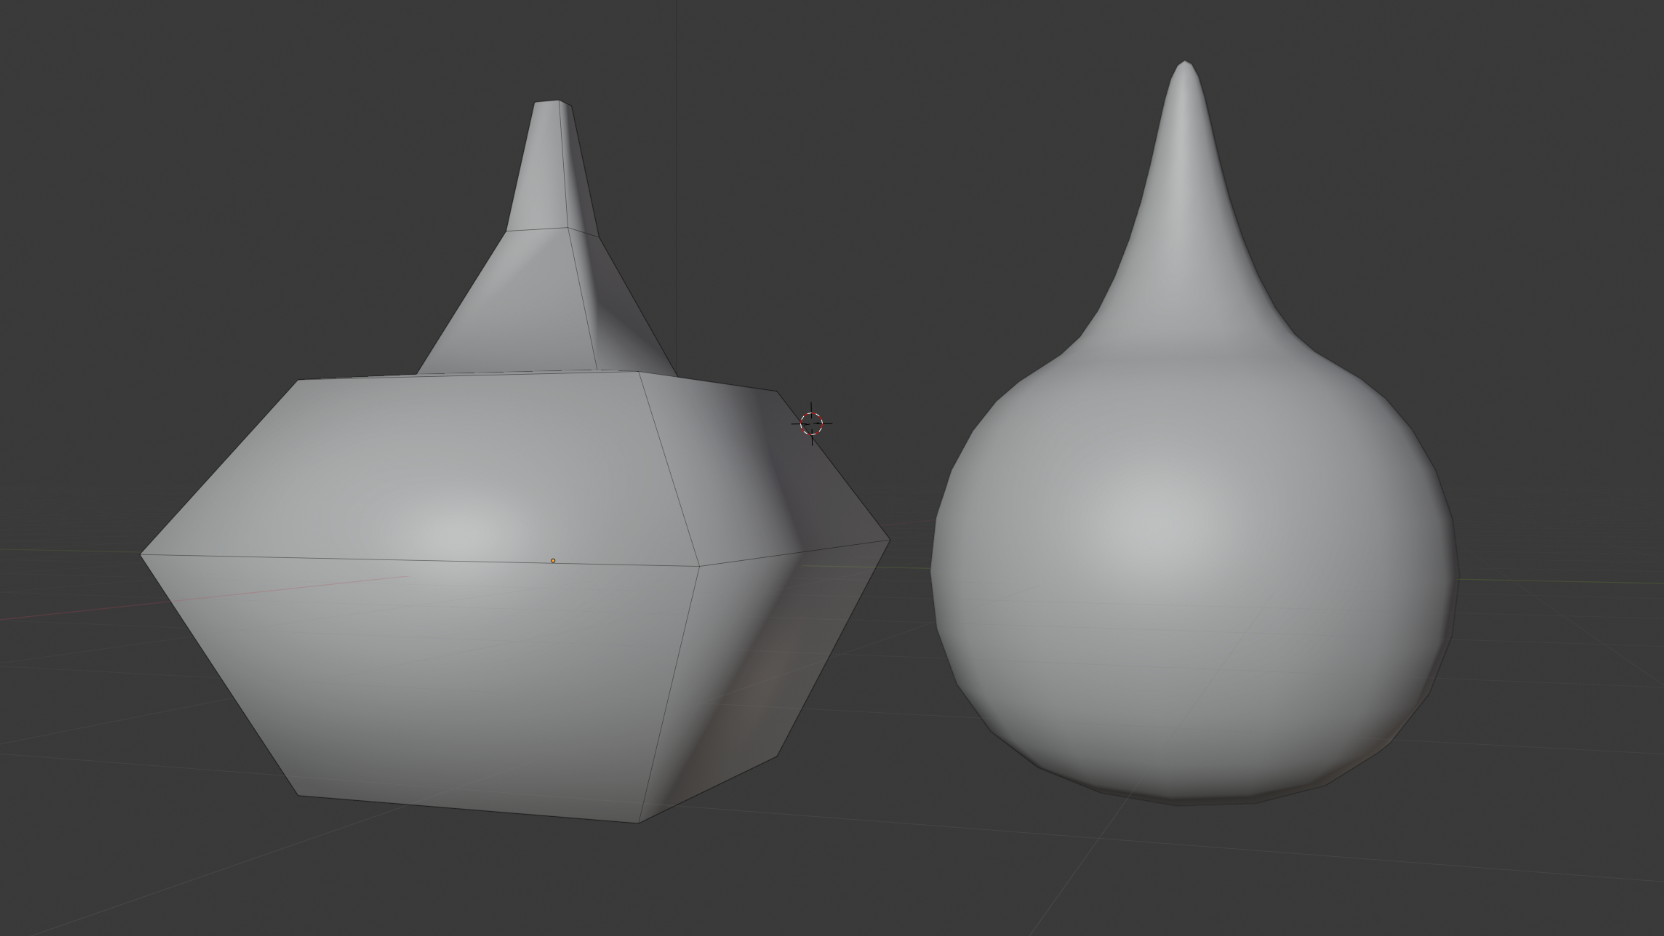
Started with blocking out the shape then add a subdivision modifier.

Facial Features

Then I projected some circles onto the body using a shrinkwrap modifier and created a sphere to put inside the main body.

Wisp Texture

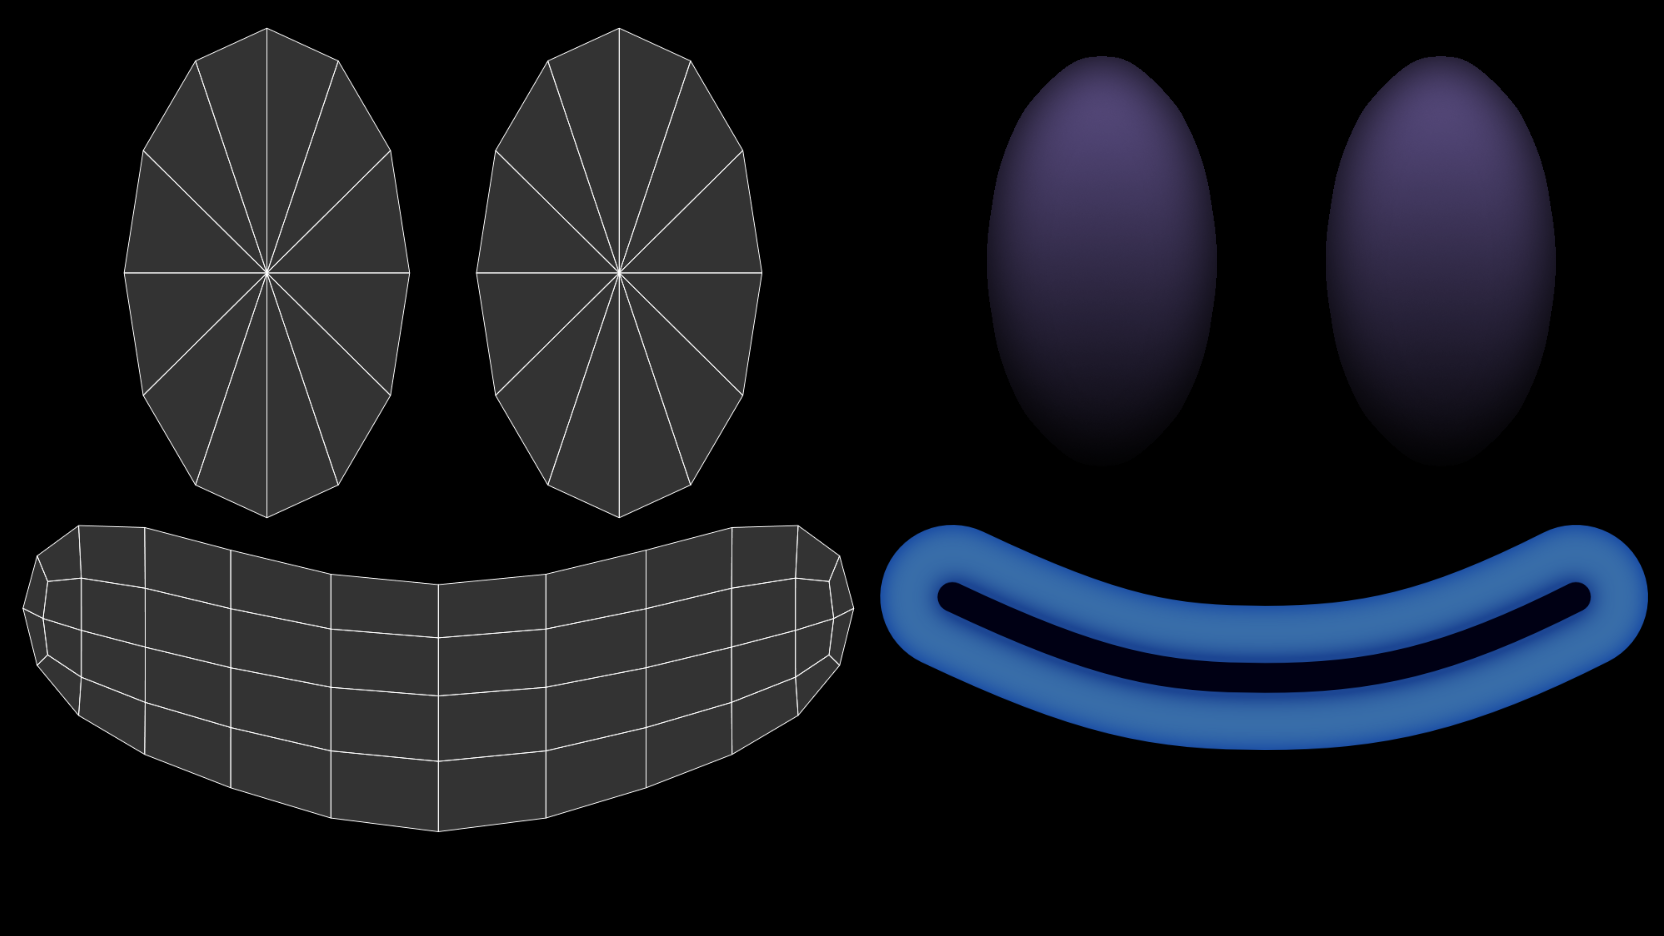
Exported the UV and painted a face that similar to Wisp

Putting it together

Let’s move on to Unity to set up a custom shader and some vertex animation.

Start Unity

When starting with an unlit shader in Unity, it does not look like much, but that will change. First, I fixed the color to be a gentle gradient based on the local vertex position.

 1
 2
 3
 4
 5
 6
 7
 8
 9
10
11
12
13
14
15
16
17
18
19
20
// Properties
_ColorTop("Top Color", Color) = (1,1,1,1)
_ColorMid("Mid Color", Color) = (1,1,1,1)
_ColorBot("Bot Color", Color) = (1,1,1,1)

// These three values was used to fine tune position of the gradient
_Middle("Middle", Range(0.001, 0.999)) = 0.5
_adjustLocal("Adjuct Y pos", Range(-2, 2)) = 0
_scale("Scale", Range(-200, 200)) = 0

// Vertex Function
o.localpos = input.vertex;

// Fragment Function
float localPos = i.localpos.z * _scale;
localPos += _adjustLocal;
localPos = clamp(localPos, 0, 1);
fixed4 c = lerp(_ColorBot, _ColorMid, localPos / _Middle) * step(localPos, _Middle);
c += lerp(_ColorMid, _ColorTop, (localPos - _Middle) / (1 - _Middle)) * step(_Middle, localPos);
return c;

Wisp Gradient

Next is the rim light that will make him all glowy. This is calculated in the vertex function.

1
2
3
4
5
6
7
// Vertex Function
// _power is the area the rim light covers and _intensity is the rate at which the _power diminishes
float3 viewDir = normalize(ObjSpaceViewDir(input.vertex));
float dotProduct = 1 - saturate(dot(input.normal, viewDir));
o.color = smoothstep(1 - _Power, 1.0, dotProduct) * _intensity;
// _Color is added as a property so we can change color of the rim light
o.color *= _Color;

Wisp Rim Light

He also has this inner glowing orb, and to get it to show, I thought I would switch the Culling from back to front, but that also removes the rim light since it’s calculated on the front faces. This is not a problem since we can flip the normals in Blender and that gives the same result but with rim light intact. The inner orb uses the same shader only with different settings.

Wisp Inner Orb

We are now adding some vertex animation to get that wispy top going.

 1
 2
 3
 4
 5
 6
 7
 8
 9
10
11
12
13
14
15
16
17
18
19
20
//Properties
_SpeedX("MoveSpeed X", Range(20,100)) = 25 // speed of the swaying left to right
_SpeedY("MoveSpeed Y", Range(20,100)) = 25 // speed of the swaying up and down
_SwayX("Sway X", Range(0, 0.5)) = .005 // how far the swaying goes
_SwayY("Sway Y", Range(0, 0.5)) = .005 // how far the swaying goes
_YOffset("Y offset", float) = 0.5// y offset, below this is no animation
_FrequencyX("Frequency X", Range(-10, 10)) = 1 //Fequency of the sin wave
_FrequencyY("Frequency Y", Range(-10, 10)) = 1 //Fequency of the sin wave

// Vertex Function
// world position
float3 wpos = mul(unity_ObjectToWorld, input.vertex).xyz;
// direction to sway
float x = sin((wpos.y * _FrequencyX ) + _Time.x * _SpeedX) * (o.localpos.z + _YOffset);
// apply the movement if the vertex's y above the YOffset
o.vertex.x += smoothstep(0, 1, input.vertex.z - _YOffset) * x * _SwayX;;
// direction to sway
float y = cos((wpos.x * _FrequencyY) + _Time.x * _SpeedY) * (o.localpos.x + _YOffset);
// apply the movement if the vertex's y above the YOffset
o.vertex.y += smoothstep(0, 1, input.vertex.z - _YOffset) * y * _SwayY;

Wisp Finished

And there is the turntable of the finished Wisp. I hope this can inspire you to try recreating something you have seen lately.

You May Also Like